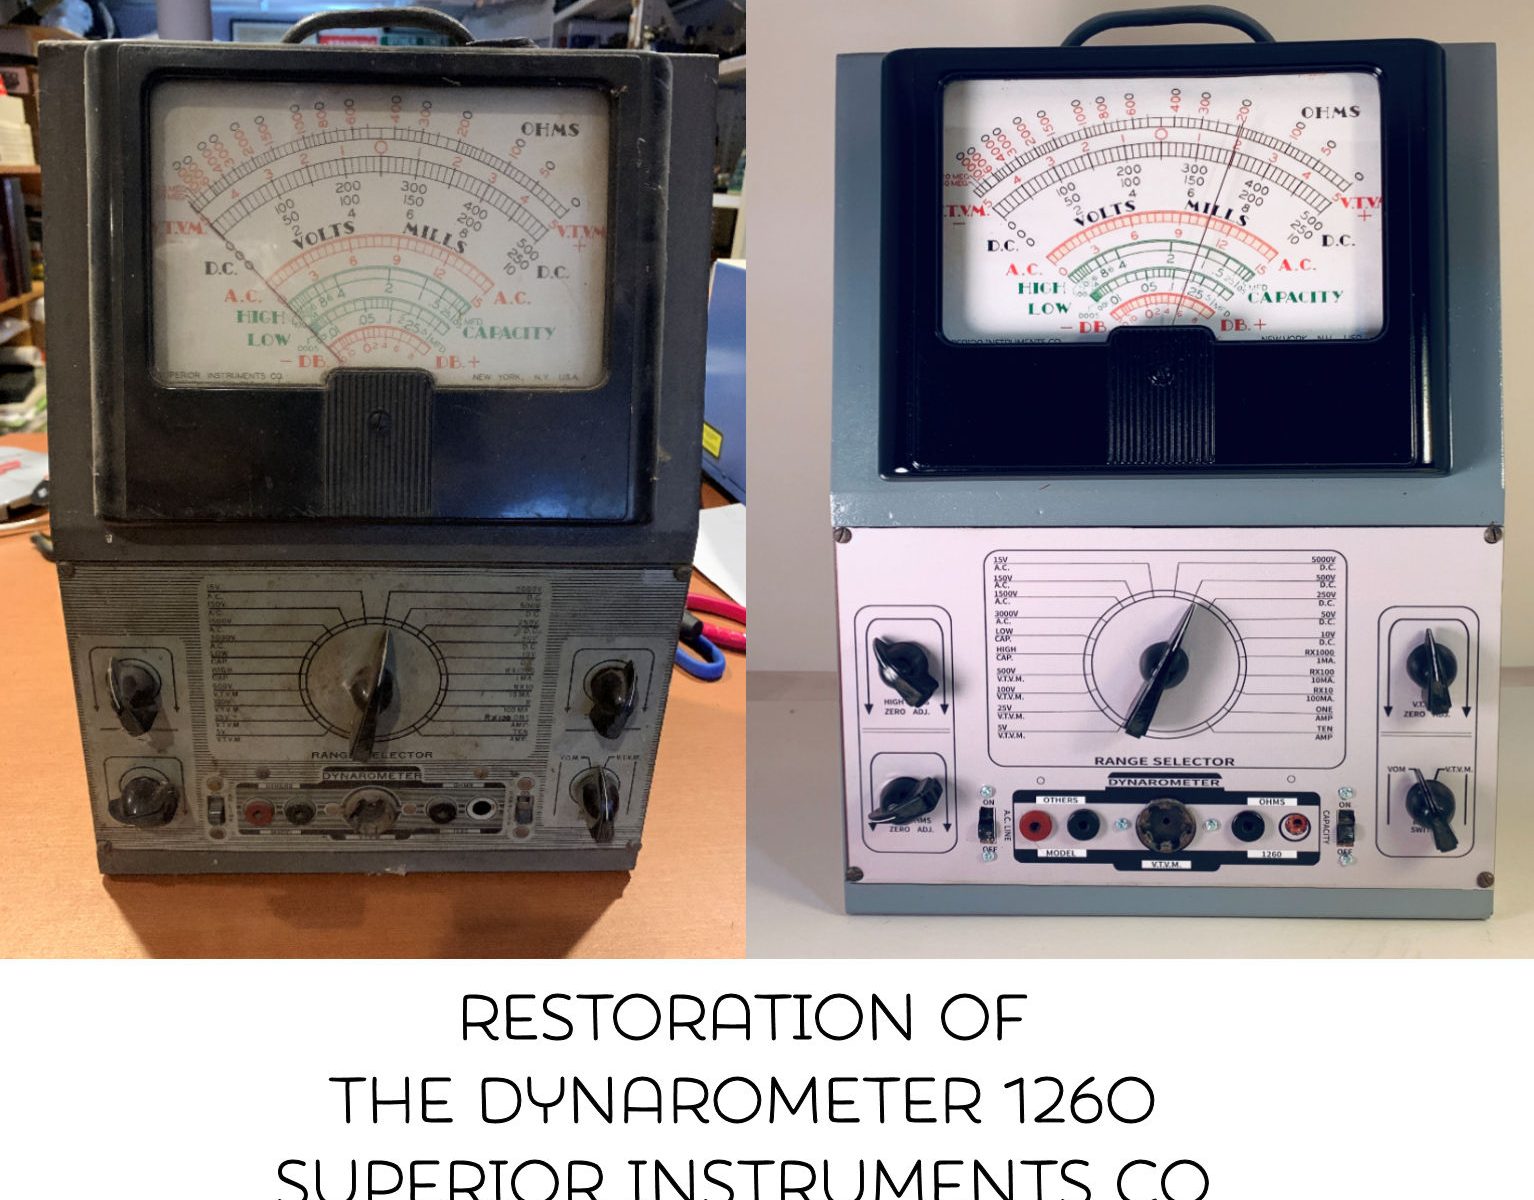
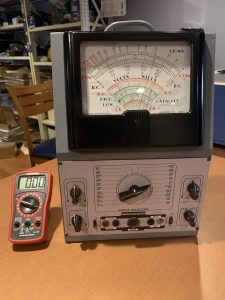
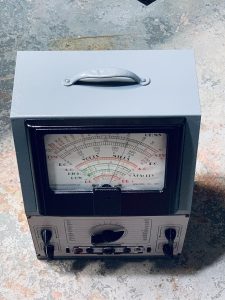
I am still trying to figure out the back story on this restoration project. What I do know is this is a Dynarometer Model 1260, under the bezel of the meter movement is says Superior Instruments Co, New York NY made in USA. I am not sure if these were sold as a kit or even the exact model year. If I was to guess I would say 1950’s give or take a few years.
A friend was tossing this out so I adopted it and decided to keep it from the landfill. It was dirty and quite rusty. After a through examination to make it operational again would be virtually impossible, however restoration as a piece of art would be the second best thing.
TOOLS YOU CAN USE
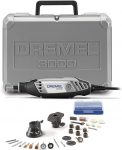
This Dremel Tool is one of the better ones I have used and its pretty inexpensive $90.00 at Amazon!
![]() Choose a paint and prime, or better yet a paint and prime in one like the paint I used. I selected this Rostleum Universal which is paint and primer in one. It works very well. About $10.00 on average at Amazon
Choose a paint and prime, or better yet a paint and prime in one like the paint I used. I selected this Rostleum Universal which is paint and primer in one. It works very well. About $10.00 on average at Amazon
If your projector is rusty, a soak in Evapo-Rust will help restore the metal to its original condition. It runs about $10 for 1/2 gallon
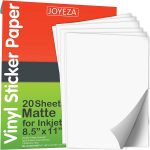 The Dynarometer 1260 has a ton of artwork that will need to be recreated. The easiest way would be to use printable vinyl or decal transfers $14 at Amazon for a pack
Lastly you will need a few basic hand tools to dismantle the Dynarometer 1260.
Prepping the Dynarometer 1260
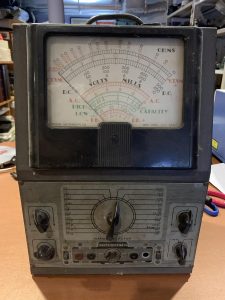
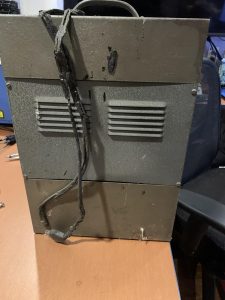
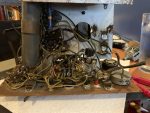
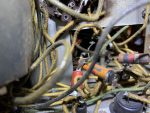 I started by taking the meter fully apart
Once inside I was amazed and horrified bu the way this unit was soldered together. This is why I’m thinking the meter was originally some kind of kit.
I removed all the old cloth wiring, the front panel, the meter movement, the nobs, switches, everything.
Restoring the meter movement
I wanted to get to the artwork under the glass on the meter movement, 70 years of life had yellowed the backing. The movement was easy to dissemble, and I was able to place the face of the meter on the glass of my scanner. A quick scan, a little Photo Shop touch up and it looked as good as new.
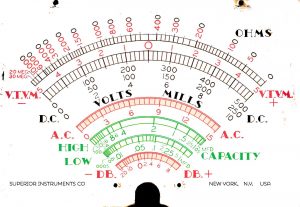
This is where the printable vinyl stickers come in handy.
I was able to print this on a sticker and simply stick it over the existing artwork. I painted the bezel a glossy black and cleaned the glass.
Resembled the unit in the opposite order and it looks great!
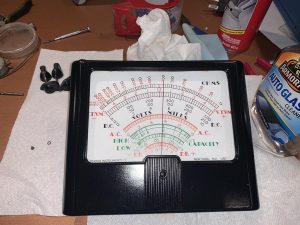
I then cleaned the knobs with glass cleaner and they shined up rather nicely.
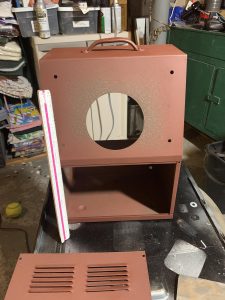
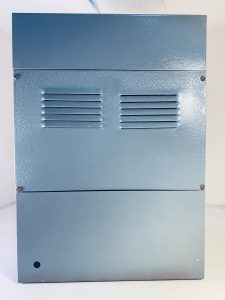
Moving on to the main cabinet would force me to start tacking the rust. The outside of my Dynaromenter 1260 was in fair shape, however the inside was rusty. Using my Dremel tool I cleaned out all the rust and scuffed the original paint so the new paint would stick better. This time around I decided a coat of primer would help prevent further rusting and give a better finish coat.
I originally wanted to save the artwork on the front control panel, however many attempts at cleaning failed . The panel was oxidized, stained and very dirty, I made the decision to sand the panel and prime it too.
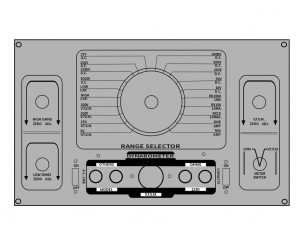
My next stop would be Inkscape where I would spend better part of a day drawing the original panel (with my touches) I think my version is a little cleaner than the original, but in all honesty I think I was starting to get bored and wanted to be done.
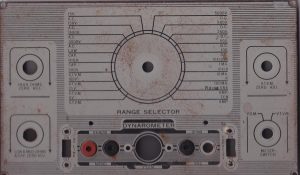
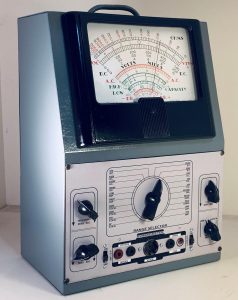
Presenting the Dynarometer 1260 by Superior Instruments
Again the artwork was printed on vinyl, cut and stuck to the control panel. The switches and dials were reattached. The entire case was painted slate gray, then resembled.
The final product looks amazing!
It took an entire weekend to complete this project, but I am happy I did. The Superior Instruments Dynarometer 1260 will be on my shelf as a great piece of art for generations to come.
Thank you for reading my blog,
Joe
Check out this Moviegraph projector I restored too – Click here
