Laptops and Notebook computers cost a fraction of what they did years ago. A decent general purpose laptop can be had today for around $500. However as time marches on our older computers can begin to feel slower due to more resource demanding applications and operating systems.
Maybe its not time to toss out that used laptop! With some easy modifications you can spruce up your laptop and get a few more years of good service life out of it.
Add a Solid State Hard Drive – SSD
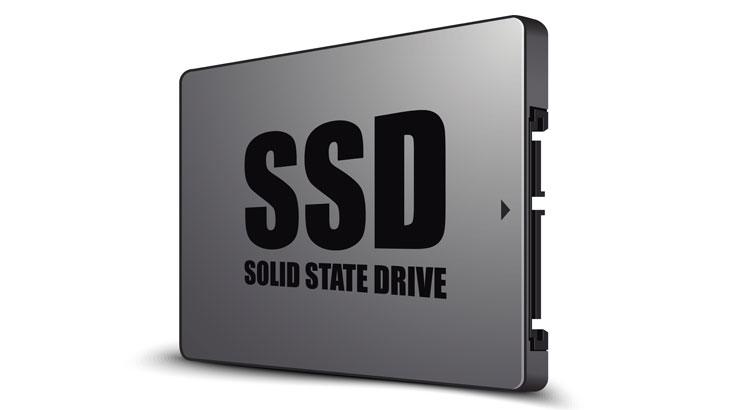
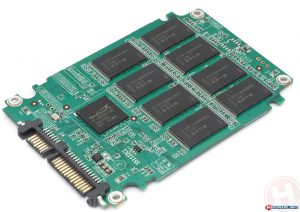
The most cost effective boost you can give to your laptop is replacing the old spinning HDD and install a SSD disk. Many older laptops have inherently slow Hard Disk Drives to save energy and prolong battery life. Software that is disk intensive can feel sluggish on older spinning disks. Solid State Drives (SSD) don’t have that limitation, all the data is stored on memory chips and can be accessed at an amazing speed! Think of your mobile phone, or digital camera. All the data is stored on a chip.
Replacing the Hard Drive on an HP ENVY 14 (14-K20US)
The procedure to POP out your hard drive and replace with new will be very similar no matter which laptop you have. I happened to be doing work for a friend and will be showing images of her HP ENVY 14 (circa 2012)
STEP 1 – BACKUP UP YOUR DATA
Before we begin, you will need a good data backup. Use whatever method you are comfortable with. USB Disk, Network, Cloud backup. It does not matter as long as all your files are stored somewhere other than the drive we are about to remove. Side note – You should already be baking up your data.
Related reading : Data you don’t have two copies of is data you don’t care about!
STEP 2 – REMOVE THE BACK COVER
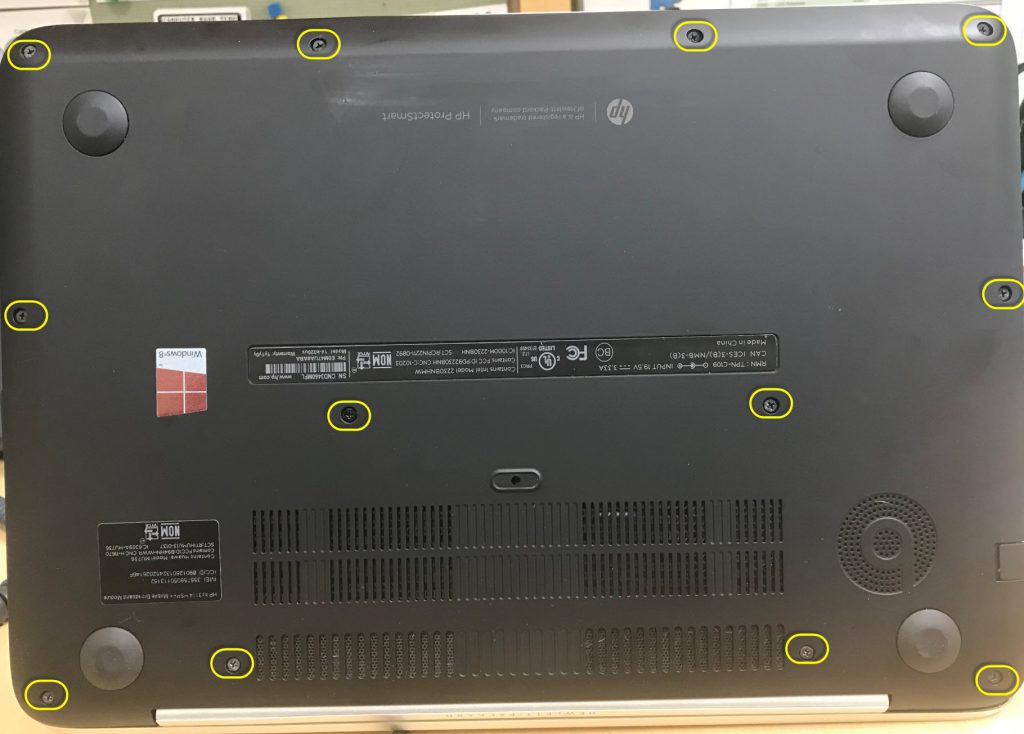
Most modern laptops have a single cover on the back hiding all the parts from prying eyes. In our HP ENVY’s case we have 12 screws to remove. (as shown below). Be sure to take note of where each screw came from, as our ENVY had smaller screws in the front row as opposed to the rest.
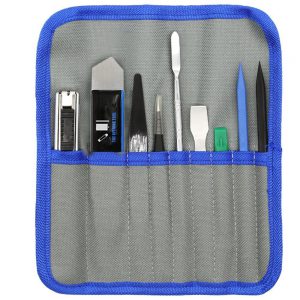
Once the screws are out gently pry the cover off. I like to use plastic tools similar to this case opening kit from Amazon for $9 so I don’t scratch the cover.
STEP 3 – LOCATE AND REMOVE THE OLD HARD DRIVE
Click on the image below to get a better look at the inner workings of the HP Envy. I labeled some of the more important bits so you can get a better idea of what is going on inside. The most important part is the hard drive located in the lower left.
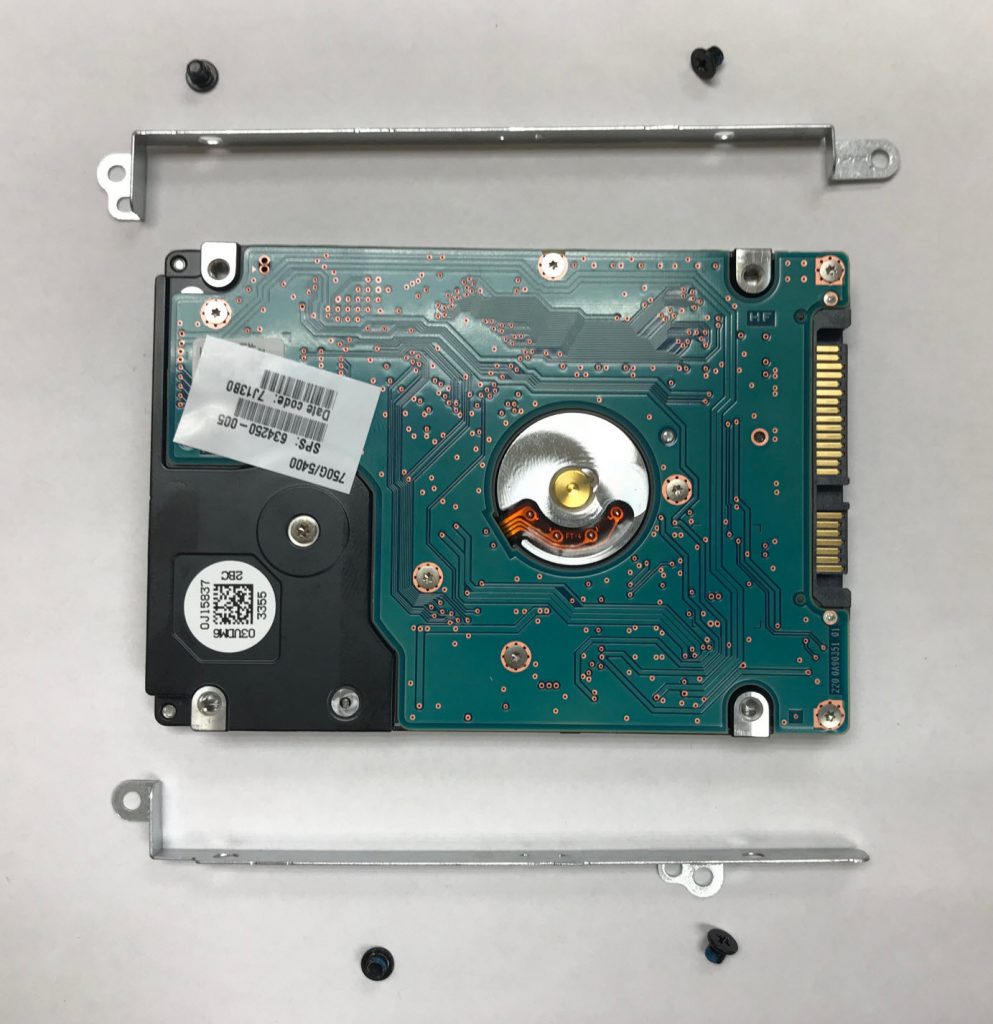
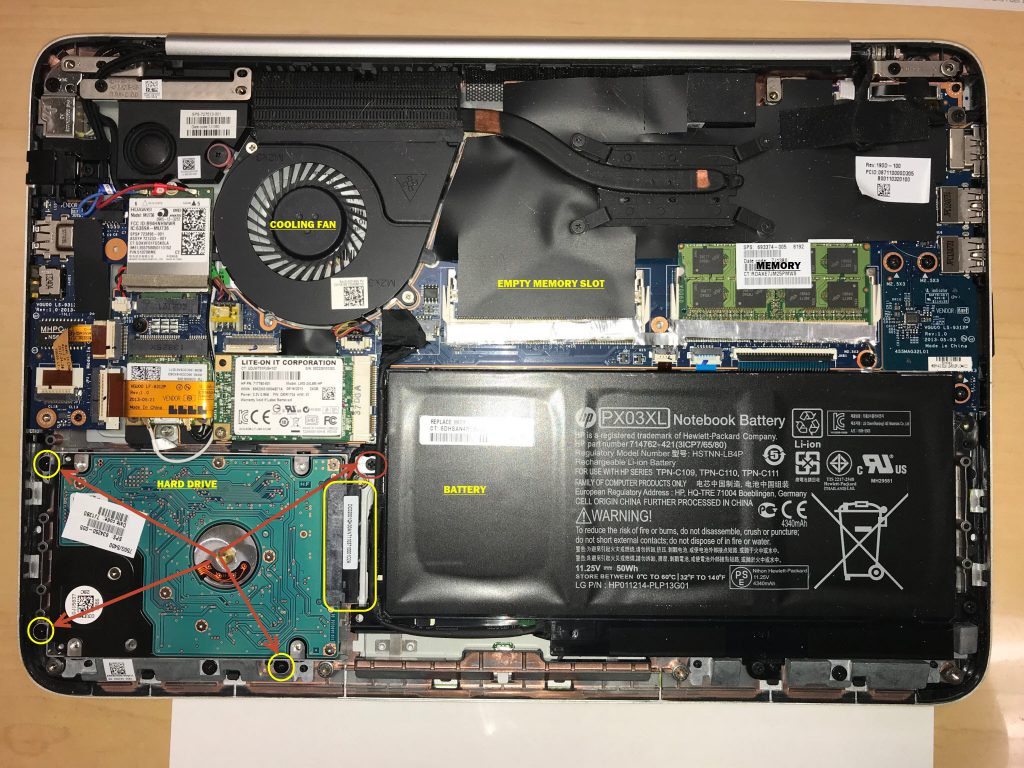 Use your Phillips head screwdriver and remove the four screws holding your hard drive in place. Note: on this particular laptop the hard drive has one long screw in the upper right. Once all the screws are out gently pry the hard drive up and disconnect the SATA cable.
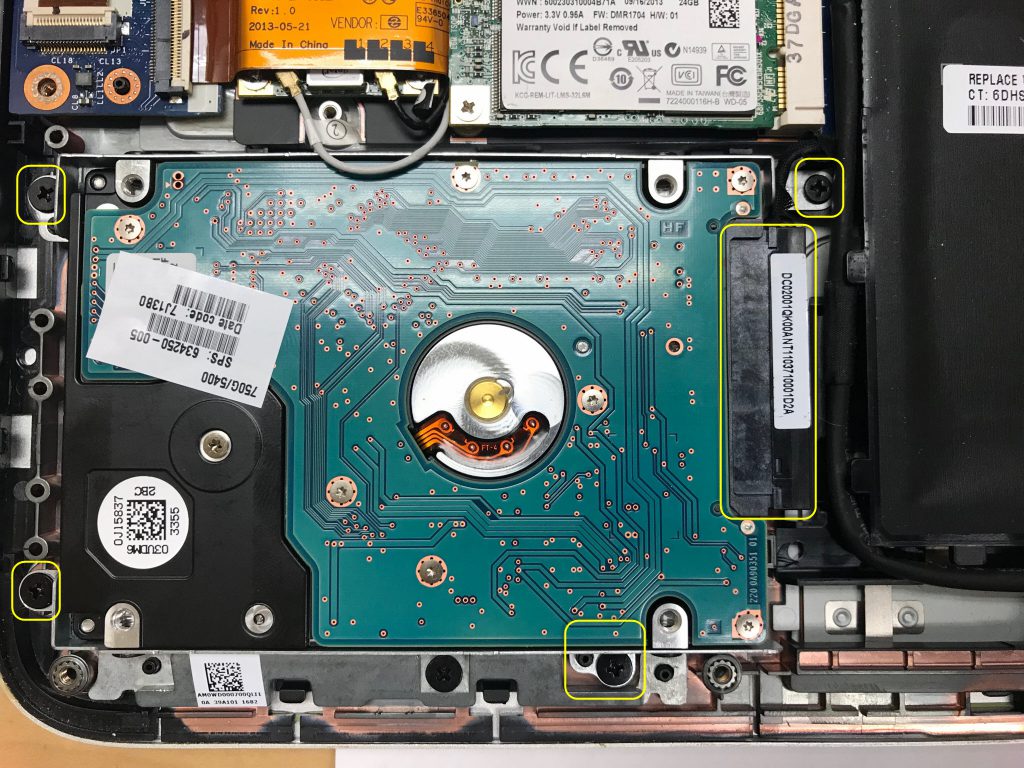 Just a close up view of the hard drive, screws and SATA cable
STEP 4 – REMOVE THE MOUNTING RAILS FROM THE HARD DRIVE
Just about every laptop hard drive has some kind of mounting rails to keep the drive in place. You need to simply remove the mounting screws and take a rails off. Try to remember the orientation of the drive and rails so you can put the new drive in the exact same way the old one came out.
STEP 5 – Installing the new disk
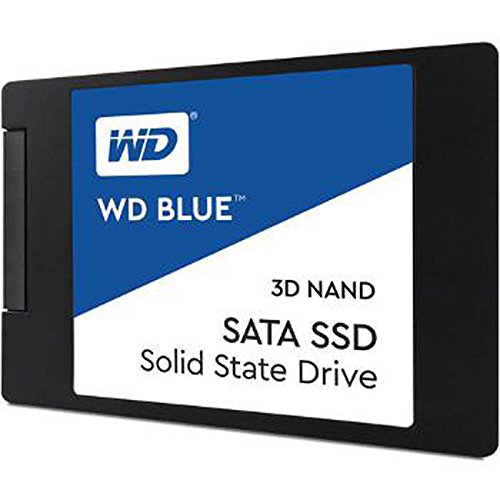
Hopefully you have a Solid State SSD disk to put back into your computer. However if you do not, I can recommend this Western Digital 500gb drive for only $140 from Amazon.
Simply screw the rails on the new SSD drive, insert back into the laptop and install the cover.
Install the operating system:
Locate your original Windows media and boot from the DVD or USB thumb drive. Follow the prompts to format the new SSD and install windows.
Windows 10 is very good about detecting the hardware and should get your network or wifi card up and running. If you are missing other drivers you should pay a visit to the manufactures website and download your specific drivers.
Don’t forget to run Windows update and take down the latest and greatest feature and security patches.
Finally, copy your data back from the backup you made in step 1.
Hopefully you are feeling a bump in performance and get a few more years out of your laptop.
RELATED READING : What to do when SSD drives go bad!
RELATED READING : Which hard drive should I pick
Thanks again for reading my blog,
Joe
