It’s been a while since I have written a blog posting. I guess life can get in the way of some of our hobbies, or as I have noticed other hobbies take priority over others. You may ask what I have been up to over the last year that has been taking up so much time.
My side hustles :
- Buying vintage video games and repair / refurbish for resale
- Buying vintage cameras for repair / refurbish for resale
- Buying vintage electronics / test instruments for refurbish for resale
- Recycling old computers and reselling their components
Recently I won an auction that had some very cool vintage test instruments and I thought I could put a little time into refurbishing them and flip for a couple extra dollars. If you have ever read my blog its not about making money on my projects, but more of the process to get to the final product that I enjoy.
The Weston Electrical Instrument Co. Model 24 – Ammeter
At a recent live auction I picked up 4 various test instruments
- The Weston Electrical Model 24 Ammeter
- The Weston Electrical Model 45 Voltmeter
- A Simpson Model 260 Multi-Meter
- A Shallcross No 310 Galvanometer
The first Item I decided to refurbish was the Weston 24, it was by far in the worst shape of the lot. I’m not sure if it got this way from being in service in some industrial factory or maybe in a subway? I estimate this meter to be at least 100 years old.
How the Weston looked when it arrived
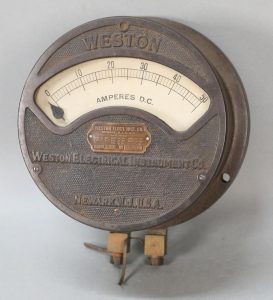 This is what the meter looked like when it arrived at my house. The dirt was embedded and would not come out. I used a mixture of alcohol and water and a Dremel with a wire brush attachment to loosen 100 years of grime.
It was a slow going process, but eventually most of the dirt, rust and crud was liberated from the meter.
Now that it was cleaned what to do next? I was thinking of giving it a new black paint job but first I would need to mask over the original brass plate and the movement glass
Weston 24 Prepped and Ready For Paint
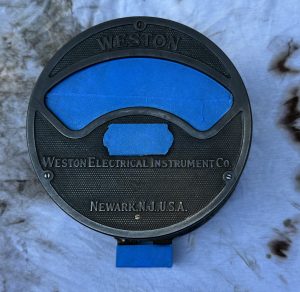 In this picture the meter is actually not looking so bad. I contemplated leaving it like this and just hitting it with some clear coat.
It has that “steampunk” vibe and I’m sure someone would hang this 8 pound beast on their wall.
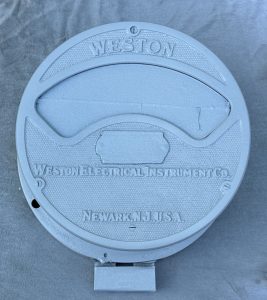 When painting antiques I tend to like to prime them to help as a rust inhibitor and to give the final coat a better chance to stick to rusty, dirty metals.
This was the first coat of prime and I have to say its looking better already!
Two coats and allowing ample drying time was all this meter needed to be ready for paint!
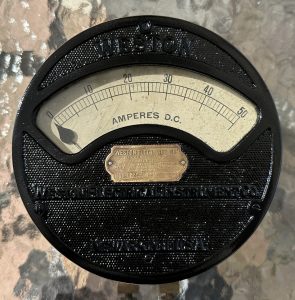 I had quite a number of ideas for the finish coat. Should I use a flat black, glossy black, maybe a different color like red would make this industrial instrument pop?
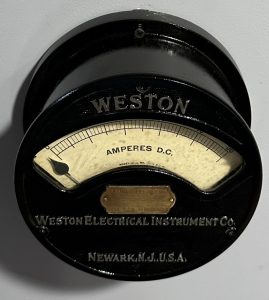
Ultimately I went with a glossy black and I thought it came out OK.
At this point I know if I put this in my online store someone would purchase it, however I am still not happy with the way it looks. The lettering is lost in the black paint and is not easy to read. I was contemplating painting the lettering gold with a brush, but my brush skills would make this look like an utter mess.
Complete!
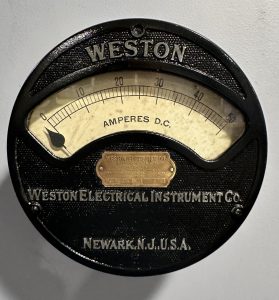
I had a great idea! Take some sandpaper and sand off the paint on the lettering! This would allow the lettering to show up as gray and be easily readable, while still keeping a beautiful gloss black finish for the rest of the unit.
The only thing that I believe would have made this any better was if the face of the meter was cast in brass rather then steel.
As of the date of publishing this post. This meter is currently available in my online store. If you want to purchase it please click this link – Weston 24
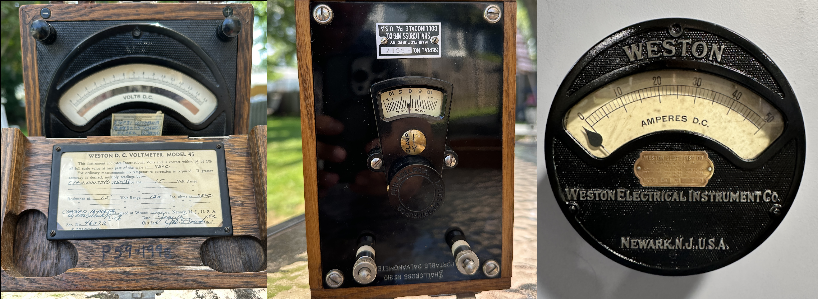
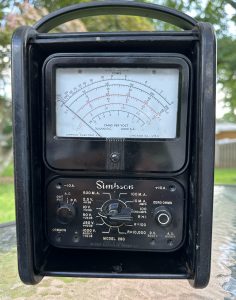
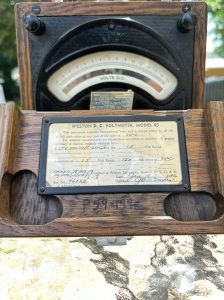
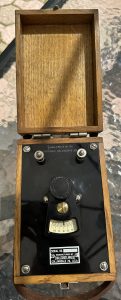
Other antique test instruments available for purchase are below. Click the image if you would like to read more about them or make a purchase.
If you have made it this far. THANK YOU fro reading my blog.
I hope you have found some of this stuff interesting.
For more cool stuff don’t forget to visit my online store – www.GeekGearStore.com

